When you need to change the Honda Accord headlight, start by confirming the exact bulb type and wattage specified for your model year. Using the right OEM bulb ensures proper fit and function.
You’ll also want to gather essential tools like a Phillips screwdriver and a 10mm ratchet before opening the hood. Proper handling and alignment are critical to avoid damage and ensure optimal lighting.
Next, you’ll learn how to safely access and replace the bulb without complications.
Key Takeaways
- Confirm the correct bulb type and wattage for your Honda Accord using the owner’s manual, typically H11 or 9005.
- Gather tools including a Phillips screwdriver, 10mm socket ratchet, needle-nose pliers, microfiber cloth, and flashlight.
- Open the hood, locate the headlight assembly, and identify the bulb access point behind the front grille.
- Disconnect the power connector, remove the dust cover, turn the bulb socket counterclockwise, then remove and replace the bulb carefully.
- Test headlights for brightness and color accuracy, avoid touching the bulb glass, and ensure all connectors are secure.
How to Identify the Right Headlight Bulb for Your Honda Accord

How do you determine the correct headlight bulb for your Honda Accord? First, consult your owner’s manual to confirm bulb compatibility specific to your model year. Different trims and years may require distinct bulb types, so this step guarantees accuracy.
Next, verify the wattage rating; using a bulb with incorrect wattage can cause electrical issues or insufficient lighting. Standard Honda Accords often use bulbs like H11 or 9005, but always double-check.
Avoid guessing, as improper wattage or incompatible bulbs can damage the headlight assembly or reduce performance. Finally, consider OEM (original equipment manufacturer) bulbs to maintain factory standards.
What Tools You Need to Change Honda Accord Headlights
Selecting the correct headlight bulb is only part of the process; having the right tools on hand will streamline the replacement. For your Honda Accord, gather a Phillips screwdriver and a ratchet with a 10mm socket to remove necessary screws and bolts.
A pair of needle-nose pliers helps with electrical connectors, while a clean microfiber cloth prevents fingerprints on the bulb’s glass. Avoid using two word ideas unrelated to this task, as subtopic irrelevant tools only complicate the procedure.
Keep a flashlight nearby for better visibility in tight spaces. Ensure all tools are in good condition to prevent damage or injury. Having this precise toolset prepared ensures a smooth, efficient headlight change without unnecessary delays or errors.
How to Access Your Honda Accord’s Headlight Assembly
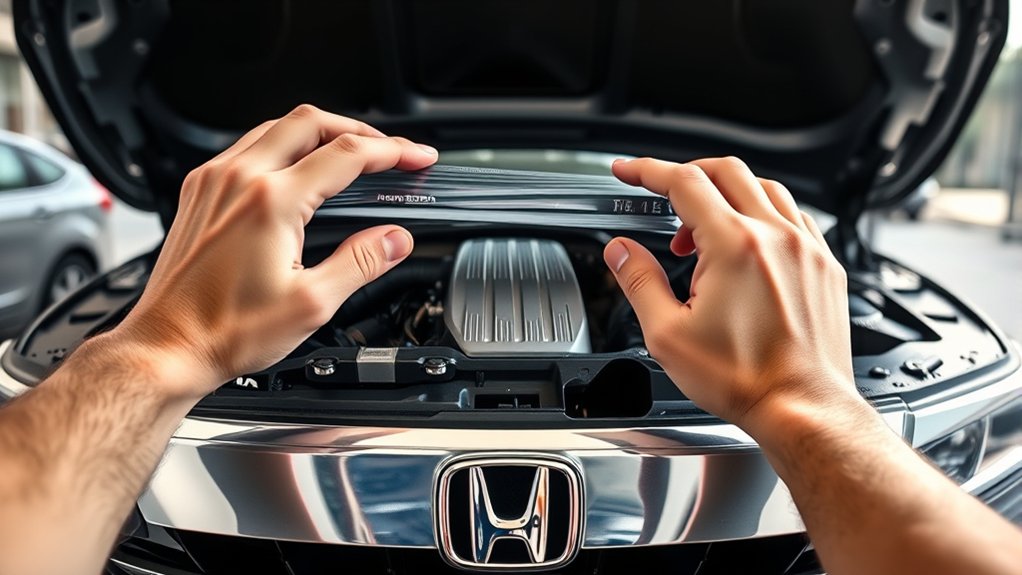
First, open the hood of your Honda Accord and secure it with the prop rod. Next, locate the headlight assembly at the front corner of the engine bay.
This access point is where you’ll perform all headlight-related tasks.
Open The Hood
To access the headlight assembly on your Honda Accord, you’ll need to open the hood properly. Locate the hood release lever inside the vehicle, usually near the driver’s side footwell, and pull it. Then, move to the front and find the secondary release latch under the hood’s edge.
Lift the hood carefully and secure it with the prop rod. Proper opening avoids damage that could affect headlight color consistency or trigger warranty implications.
| Step | Action | Tip |
|---|---|---|
| 1 | Pull interior hood release | Located near driver’s footwell |
| 2 | Find external latch | Reach under hood front edge |
| 3 | Lift hood | Use both hands for control |
| 4 | Secure hood with prop rod | Avoid accidental closure |
| 5 | Inspect area for debris | Prevent contamination of assembly |
Locate Headlight Assembly
The headlight assembly on your Honda Accord is located at the front corners of the vehicle, integrated into the body panel. To locate it, stand in front of your car and identify the clear lens housing positioned on both the driver and passenger sides.
This assembly not only affects headlight aesthetics but also protects the internal components, including the bulb. Once you’ve opened the hood, look for the back of the headlight assembly, where you’ll find access points to change the bulb.
Pay attention to the bulb color specifications printed on the assembly or in your owner’s manual to ensure you replace it with the correct type. Proper identification of the headlight assembly is essential for efficient and safe bulb replacement.
Removing the Old Headlight Bulb From Your Honda Accord
Locate the headlight assembly behind the front grille and disconnect the power connector by pressing the release tab and pulling it straight out. Avoid any irrelevant topic or unrelated discussion to stay focused on the task.
Next, remove the rubber dust cover carefully to expose the bulb socket. Turn the bulb socket counterclockwise to unlock it from the assembly. Gently pull the old bulb straight out without twisting to prevent damage.
- Press release tab on power connector
- Pull connector straight out
- Remove rubber dust cover
- Turn bulb socket counterclockwise
- Extract old bulb carefully
Following these precise steps ensures safe removal of the old headlight bulb, preparing you for the next phase without causing damage or confusion.
Installing a New Headlight Bulb Correctly

How exactly do you guarantee the new headlight bulb fits securely and functions properly? First, confirm bulb compatibility by checking your Honda Accord’s manual for the exact bulb type. Avoid mixing incompatible bulbs to prevent damage.
Next, handle the bulb by its base only, never touching the glass with bare fingers to maintain electrical safety and bulb longevity. Insert the bulb carefully into the socket, aligning the tabs precisely with the housing slots.
Apply firm, even pressure until it clicks into place, ensuring a secure fit without forcing. Reconnect the wiring harness firmly, verifying all connections are tight to prevent electrical shorts or failures. Following these steps guarantees proper installation and optimal performance in your Honda Accord’s headlight system.
How to Test Your New Honda Accord Headlight Bulb
Before securing the headlight assembly, you’ll want to verify that your new bulb functions correctly. Testing ensures reliable dimness and proper color temperature, preventing future issues. Follow these steps:
Turn on your Honda Accord’s ignition and activate the headlights. Observe the bulb for consistent brightness and absence of flickering.
Check the light’s color temperature; it should match the manufacturer’s specifications. Inspect for any signs of dimness or irregular lighting patterns.
If available, use a multimeter to confirm appropriate voltage at the bulb connector.
Performing this test confirms the bulb’s operational status and alignment with your vehicle’s electrical system. Addressing any anomalies now avoids disassembly later, ensuring safety and optimal headlight performance.
Common Mistakes to Avoid When Changing Honda Accord Headlights
Frequently, errors during a headlight replacement can compromise both safety and performance. First, never mix headlight color temperatures, as inconsistent colors reduce visibility and can distract other drivers. Stick to the manufacturer’s specifications.
Second, avoid reusing worn or damaged mounting hardware. Faulty clips or screws can cause misalignment, leading to improper beam direction.
Third, don’t touch the glass bulb with your fingers; oils cause hot spots, shortening bulb life.
Fourth, ensure the bulb seats fully and securely in the housing; incomplete insertion may cause flickering or failure.
Lastly, double-check all electrical connections for corrosion or loose contacts. By steering clear of these common mistakes, you’ll maintain optimal headlight function and ensure your Honda Accord’s lighting system operates reliably and safely.
Should You Upgrade Your Honda Accord Headlights to LED or HID?
Why consider upgrading your Honda Accord headlights to LED or HID? LED upgrades and HID options offer enhanced brightness, improved energy efficiency, and longer lifespan compared to standard halogen bulbs.
When deciding, evaluate these factors:
- Brightness and visibility: LEDs and HIDs provide superior illumination for safer driving.
- Energy consumption: LEDs consume less power, reducing load on your electrical system.
- Installation complexity: HID options may require ballasts and more wiring adjustments.
- Cost: LEDs are generally more affordable upfront; HIDs can be pricier but offer intense brightness.
- Compatibility: Verify your Accord’s model supports the upgrade to avoid electrical or housing issues.
Frequently Asked Questions
How Often Should I Check My Honda Accord Headlights?
You should check your Honda Accord headlights monthly to guarantee optimal performance. Regular headlight maintenance includes inspecting for damage and following bulb replacement schedules, typically every 1-2 years. This helps maintain safety and visibility standards consistently.
Can I Change the Headlight Bulb Without Removing the Battery?
Yes, you can change bulbs without removing the battery on most Honda Accords. Ensure there’s enough battery clearance to access the headlight housing comfortably, preventing damage and allowing efficient bulb replacement.
Are Aftermarket Headlight Bulbs Safe for My Honda Accord?
Aftermarket advantages appeal, but always assess aftermarket safety and bulb compatibility carefully. You’ll want to ensure your chosen bulbs match Honda Accord specifications precisely to prevent electrical issues, maintain optimal lighting performance, and avoid voiding warranties.
How Do Weather Conditions Affect My Honda Accord Headlights?
How weather affects your Honda Accord headlights directly impacts headlight performance; rain, fog, and snow reduce visibility by scattering light.
You’ll need to keep lenses clean and consider bulbs with higher lumens for improved clarity.
What Should I Do if My Headlight Flickers After Installation?
If your headlight flickers after installation, check for loose connections, damaged wiring, or incompatible bulbs. Use installation troubleshooting to ensure secure contacts and proper voltage.
Replace faulty components to eliminate headlight flicker promptly.
Conclusion
By following these steps, you ensure your Honda Accord’s headlights function safely and effectively. It’s no coincidence that proper bulb choice, careful handling, and correct installation all align to improve your visibility on the road.
Just as a small misstep can dim your headlights, precise attention brightens your driving experience. So, trust the process, avoid common errors, and keep your headlights shining strong—because every detail matters when it comes to safety and performance.
Remember, mastering how to change Honda Accord headlight is key to maintaining optimal lighting and road safety.