Replacing the rear muffler on your 2004 Honda CR-V might seem like a monumental task, but with the right approach, you can handle it efficiently and safely. The rear muffler is a crucial part of your vehicle’s exhaust system, and knowing how to replace it properly will save you time and money.
You’ll need to prepare your tools, lift the vehicle securely, and carefully navigate rusted bolts and old hangers. Mastering these steps ensures a proper fit and prevents leaks, setting the stage for a smooth, effective installation.
Let’s explore how to get this done right.
Key Takeaways
- Identify muffler issues like increased noise, visible damage, or exhaust leaks before replacement.
- Gather tools: socket wrench set, penetrating oil, rubber mallet, exhaust hanger pliers, torque wrench, gloves, and eye protection.
- Safely lift the vehicle using a floor jack, secure with jack stands, and use wheel chocks to prevent movement.
- Remove old muffler by loosening bolts, clamps, and rubber hangers, then install the new OEM or compatible muffler with new clamps and sealant.
- After installation, check for leaks, ensure secure clamps and hangers, and confirm proper alignment and clearance.
How to Tell If Your 2004 Honda CR-V Needs a Rear Muffler Replacement
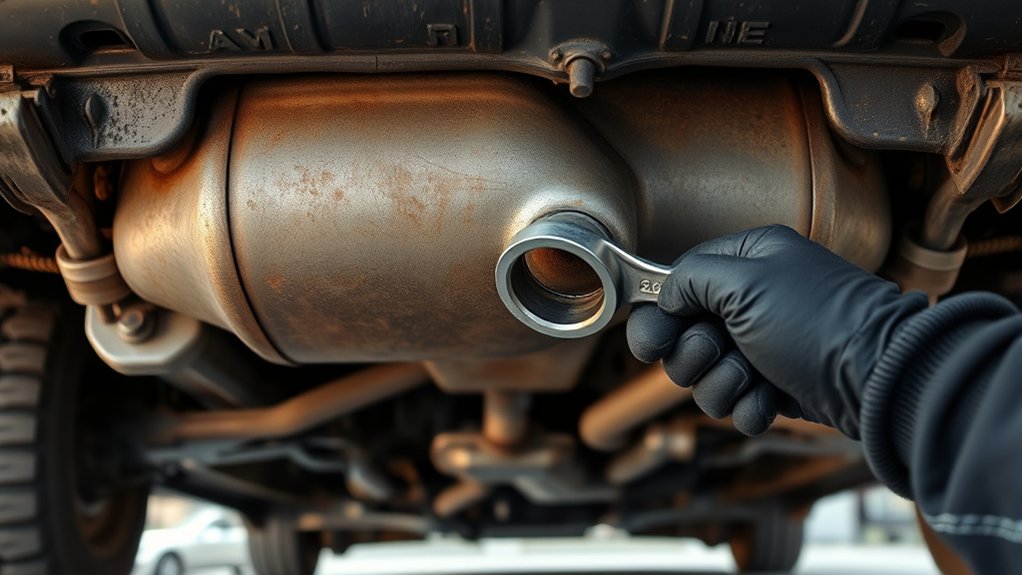
How can you determine if your 2004 Honda CR-V needs a rear muffler replacement? First, listen for increased engine noise; a failing muffler compromises noise reduction, resulting in louder exhaust sounds.
Increased engine noise is a key sign your 2004 Honda CR-V may need a rear muffler replacement.
Inspect the muffler for visible damage such as holes, rust, or cracks, which indicate irreversible muffler deterioration. You can also check for exhaust leaks by feeling for escaping gases around the rear muffler while the engine runs. Exercise caution to avoid burns.
Additionally, notice any unusual vibrations or decreased fuel efficiency, as these symptoms often accompany muffler failure. If you identify any of these signs, replacement is necessary to restore proper noise reduction and exhaust function.
Promptly addressing an irreversible muffler issue prevents further damage to your vehicle’s exhaust system.
Tools and Materials Needed for Rear Muffler Replacement
You’ll need a set of essential tools, including a socket wrench, penetrating oil, and a jack stand, to safely remove and replace the rear muffler.
Make sure to have the correct replacement muffler and new exhaust clamps or gaskets on hand. Preparing these materials beforehand ensures a smooth and efficient installation process.
Essential Tools Overview
What tools will you need to efficiently replace the rear muffler on your 2004 Honda CR-V? Start with a socket wrench set, including extensions, to remove bolts securing the muffler. Use penetrating oil to loosen rusted fasteners, reducing friction during removal.
A rubber mallet helps gently detach the muffler without damaging surrounding components. You’ll need exhaust hanger pliers for detaching and reattaching rubber mounts, ensuring proper alignment for airflow optimization.
A torque wrench is essential for tightening bolts to manufacturer specifications, preventing leaks or damage. Additionally, safety gloves and eye protection are critical for handling sharp parts and debris.
Finally, a jack and stands will securely elevate your vehicle, providing safe access to the rear exhaust system. These tools collectively ensure a smooth, precise muffler replacement process.
Required Replacement Materials
Which replacement materials ensure a durable and proper fit when swapping out the rear muffler on your 2004 Honda CR-V? Start with a high-quality OEM or compatible aftermarket muffler designed specifically for your model to maintain optimal exhaust flow and fuel economy.
Use new exhaust clamps or U-bolts rated for high heat and corrosion resistance to secure the muffler firmly. Apply exhaust sealant or gasket material at joints to prevent leaks that can affect turbo diagnostics and engine performance.
Don’t overlook replacement rubber hangers or isolators to reduce vibration and noise. Having these materials ready ensures a precise installation, protects your vehicle’s emission system, and supports accurate turbo diagnostics. Properly selected components contribute to overall system longevity and maintain your CR-V’s fuel economy.
Safely Lifting Your CR-V for Muffler Access
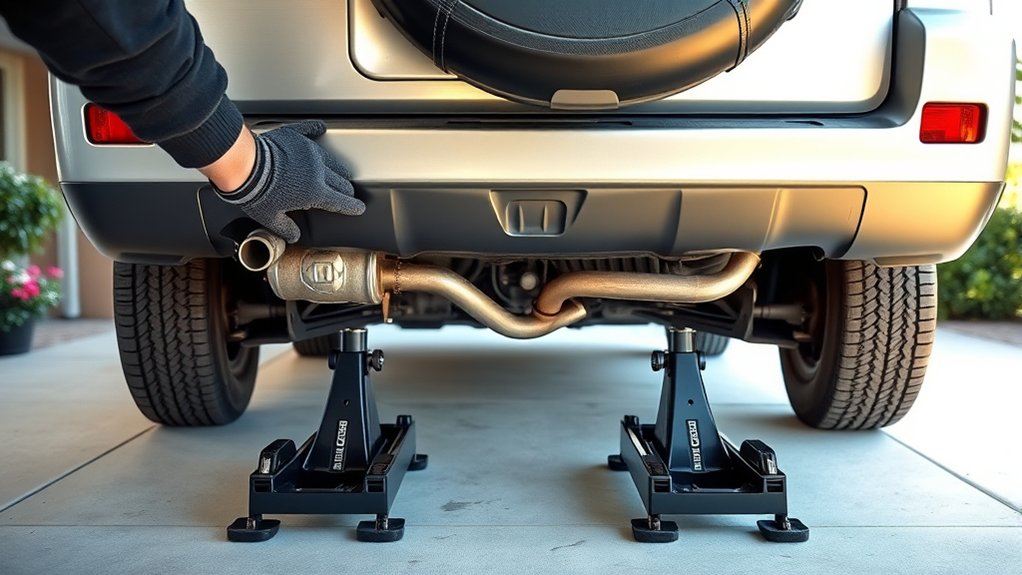
A sturdy, level surface is essential for safely lifting your 2004 Honda CR-V to access the rear muffler. Begin by parking on concrete or asphalt, avoiding soft or uneven ground that compromises stability.
Engage the parking brake and place wheel chocks in front of the front tires to prevent rolling. Use a hydraulic floor jack to lift the rear of the vehicle at the manufacturer’s recommended jacking points, usually behind the rear wheels on the frame.
Once elevated, position jack stands securely under the frame rails to support the vehicle. Lower the jack slowly until the CR-V rests firmly on the stands. This setup ensures safe access to the muffler, preventing damage from shifting or rust caused by unstable lifting, and promotes effective noise reduction by allowing proper muffler installation.
Removing the Old Rear Muffler
How do you begin detaching the old rear muffler from your 2004 Honda CR-V? First, locate the muffler clamps connecting the muffler to the exhaust pipe. Use a penetrating lubricant on the bolts to ease removal, avoiding any irrelevant debate about alternative methods.
After allowing it to soak, use a socket wrench to carefully loosen and remove these bolts. Next, detach the rubber hangers securing the muffler to the chassis. Avoid discussing unrelated topics like general exhaust maintenance here.
Support the muffler as you free it to prevent damage or injury. If corrosion makes removal difficult, gently tap the connections with a rubber mallet but avoid excessive force. By following these precise steps, you ensure a smooth removal process, setting you up for the next phase without confusion or wasted effort.
Installing the New Rear Muffler on Your 2004 Honda CR-V
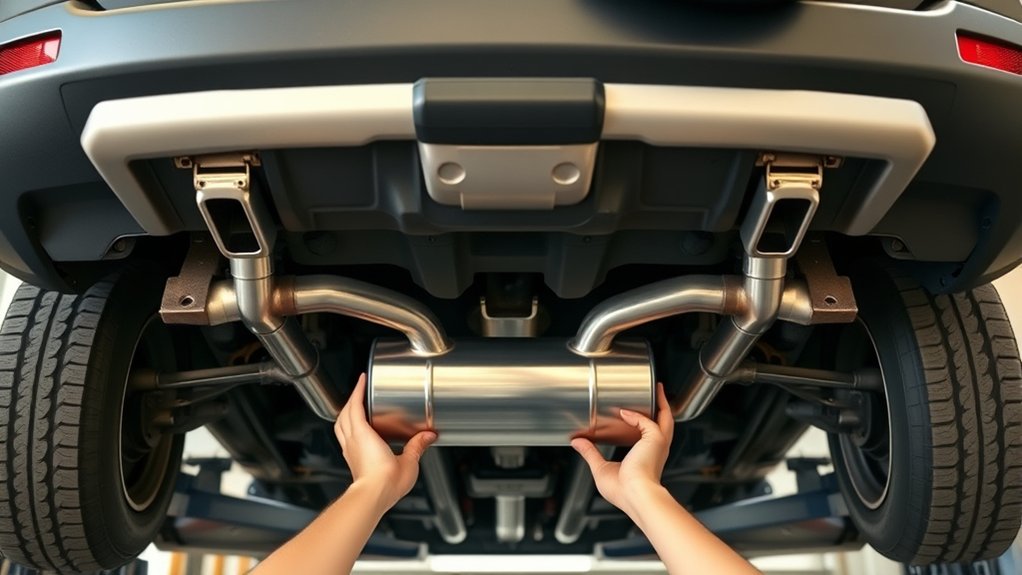
Once you’ve safely removed the old rear muffler from your 2004 Honda CR-V, prepare the new muffler for installation by aligning it with the exhaust pipe and chassis hangers. Slide the muffler inlet onto the exhaust pipe, ensuring a snug fit without forcing it.
Securely attach the muffler to the chassis hangers to prevent movement and vibration. Tighten the clamps progressively, checking alignment constantly. Avoid distractions like unrelated topics or random discussion during this process, as focus is essential for proper installation.
Use a torque wrench to apply manufacturer-specified tightness to all fasteners. Confirm that all connections are seated evenly and that the muffler is positioned symmetrically relative to the vehicle’s underside. This precision prevents premature wear and delivers optimal exhaust flow.
Checking for Leaks and Proper Fit After Installation
Several critical checks ensure your new rear muffler fits correctly and operates without leaks. After installation, inspect the connection points thoroughly to verify tight seals that prevent exhaust leaks, which can compromise noise reduction and overall performance.
Proper alignment with the exhaust system is essential, especially when considering drivetrain upgrades that may affect fitment.
- Visually confirm all clamps and hangers are secure and properly seated.
- Start the engine and listen for unusual hissing or rattling sounds indicating leaks.
- Use soapy water around joints to detect escaping air bubbles.
- Ensure the muffler maintains clearance from chassis components to prevent vibrations or damage.
Perform these steps meticulously for optimal exhaust flow and to maximize the benefits of your rear muffler replacement.
Maintenance Tips to Extend Your CR-V’s Rear Muffler Life
Why should you prioritize regular maintenance for your CR-V’s rear muffler? Proper upkeep prevents corrosion, reduces noise, and extends its functional life. First, routinely inspect the muffler for rust, holes, or loose connections, especially after driving in wet or salty conditions.
Clean the undercarriage to remove debris and salt deposits that accelerate deterioration. Avoid off topic ideas such as unrelated engine maintenance when focusing on muffler care.
Additionally, ensure the exhaust hangers and clamps are tight to prevent vibrations that cause premature wear. Address any exhaust leaks immediately to prevent further damage.
Frequently Asked Questions
What Is the Average Cost to Replace a Rear Muffler on a 2004 CR-V?
You’ll typically pay $150 to $300 to replace your rear muffler, depending on parts and labor.
For two word discussion ideas, consider unrelated topic combos like “engine diagnostics” or “fluid replacement” to expand your knowledge.
Can I Use a Muffler From a Different Honda Model on My 2004 CR-V?
Mismatched mufflers mean more than mere mechanics. You can’t use a muffler from a different Honda model without checking compatibility and regulation issues.
Verify fit, pipe diameter, and emission standards before installation to assure proper performance.
How Long Does a Rear Muffler Typically Last on a 2004 Honda CR-V?
Your 2004 Honda CR-V rear muffler typically lasts 5-7 years. Focus on two word discussion ideas like “corrosion resistance.” Avoid irrelevant topics such as unrelated car parts to ensure precise maintenance and timely replacement.
Will Replacing the Muffler Improve My Cr-V’s Fuel Efficiency?
Replacing your muffler can improve fuel efficiency by up to 5%, as a damaged muffler disrupts exhaust flow.
Ensure the new part meets emission standards to optimize performance and reduce harmful emissions effectively.
Are There Any Legal Regulations About Muffler Replacements for My CR-V?
You must guarantee legal compliance when replacing your muffler, adhering to local noise regulations. Check state and municipal laws for decibel limits and muffler standards to avoid fines.
Ensure your CR-V meets all required environmental and safety guidelines.
Conclusion
Replacing your 2004 Honda CR-V’s rear muffler restores its smooth, quiet ride—like giving your car a fresh set of lungs. Start by carefully lifting the vehicle to access the muffler area safely.
Next, remove any rusted or damaged parts that may hinder the replacement process. Installing the new muffler with proper seals and torque ensures optimal performance and safety.
Always double-check for leaks and alignment to avoid future issues. With regular maintenance, your muffler will serve you well, keeping your CR-V running efficiently and quietly for miles to come.
Proper care and timely replacement of the rear muffler are essential for maintaining the overall health of your 2004 Honda CR-V.