Did you know that nearly 60% of lawn mower issues stem from improper starting procedures? Knowing how to start a Honda lawn mower correctly is essential for avoiding these common problems. Before you pull the starter rope or press the power button on your Honda mower, you need to perform critical checks like fuel quality, oil levels, and safety features.
Mastering these initial steps not only ensures a smooth start but also extends your mower’s lifespan. Understanding the precise sequence will help you avoid common pitfalls and get your mower running efficiently every time.
Key Takeaways
- Check fuel level, use fresh unleaded gasoline, and verify oil level with Honda-recommended oil before starting.
- Set throttle to the fast “rabbit” position and fully engage the choke for cold starts.
- Pull the starter rope smoothly with a firm grip, avoiding rapid or jerky pulls.
- Let the engine idle for 3-5 minutes to warm up before engaging the blades.
- Inspect safety features, blade attachment, and controls to ensure proper mower operation.
Check Fuel and Oil Levels Before Starting Your Honda Mower
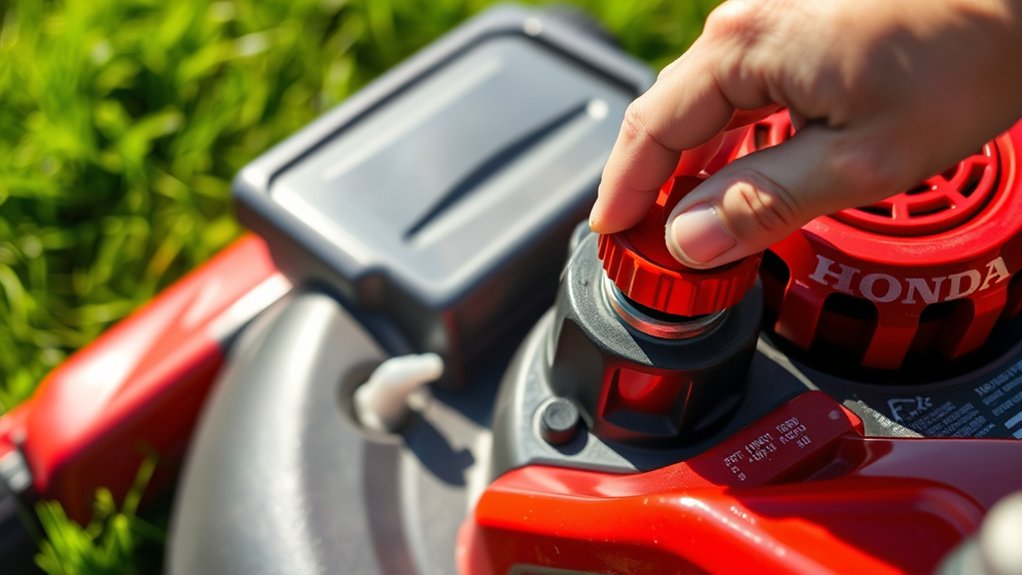
Before you start your Honda lawn mower, have you checked the fuel and oil levels? Proper fuel and oil levels are critical for optimal fuel efficiency and engine performance.
Checking fuel and oil levels before starting ensures your Honda mower runs efficiently and performs at its best.
Begin by locating the fuel tank, usually marked by a cap with distinct color options to indicate fuel type compatibility. Fill the tank with fresh, unleaded gasoline, avoiding ethanol blends above 10% to maintain engine integrity.
Next, check the oil level by removing the dipstick, wiping it clean, reinserting it fully, then removing it again to read the level. Ensure the oil is between the minimum and maximum marks; use Honda-recommended oil grade for best results.
Maintaining correct fuel and oil levels prevents engine damage and supports consistent, efficient mower operation every time you cut your lawn.
Perform Safety Checks to Prepare Your Honda Mower
After confirming your Honda mower’s fuel and oil levels, perform a thorough safety inspection to ensure safe operation. Begin by checking the blade area for any debris or objects that could cause damage or injury. Inspect the blade for sharpness and secure attachment; tighten any loose bolts.
Examine the mower deck and wheels for damage or wear that may affect stability. Verify that all safety guards and shields are in place and undamaged. Ensure the handle controls and cables operate smoothly without obstruction.
Test the engine stop lever for proper function. Finally, inspect the spark plug wire connection to avoid accidental starts. These essential safety checks prepare your Honda mower for efficient, hazard-free use and help maintain its performance and longevity.
Set the Throttle and Choke Controls on Your Honda Mower
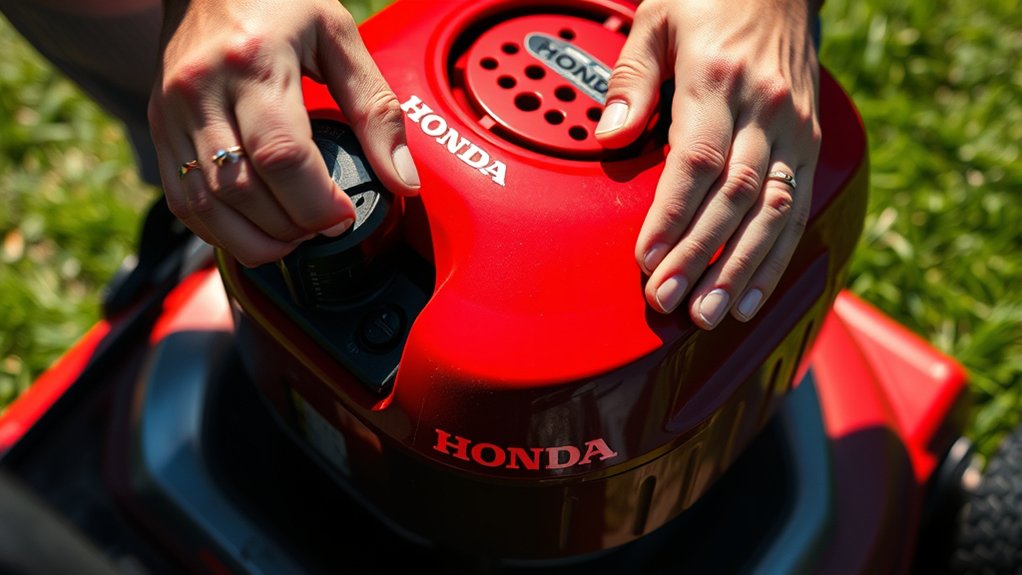
How do you properly set the throttle and choke controls on your Honda mower to ensure a smooth start? First, locate the throttle lever, typically labeled with turtle and rabbit symbols. For starting, move the throttle to the fast or “rabbit” position to maximize engine speed.
Next, adjust the choke control, which regulates air intake during cold starts. Engage the choke fully by moving the lever to the “closed” or “choke” position to enrich the fuel mixture. This setup facilitates easier ignition.
Pull the Starter Rope to Start Your Honda Mower
Why should you pull the starter rope with a firm, steady motion? Applying consistent force ensures the engine engages properly, reducing strain on the recoil mechanism and improving overall resilience factors.
Start by gripping the rope handle firmly, then pull it smoothly and swiftly without jerking. Avoid rapid, short pulls; they disrupt the user experience and can cause premature wear.
If the engine doesn’t start on the first pull, return the rope slowly to avoid tangling and repeat. Maintaining this technique protects the starter assembly, extending mower longevity.
Start Your Electric Honda Mower Easily
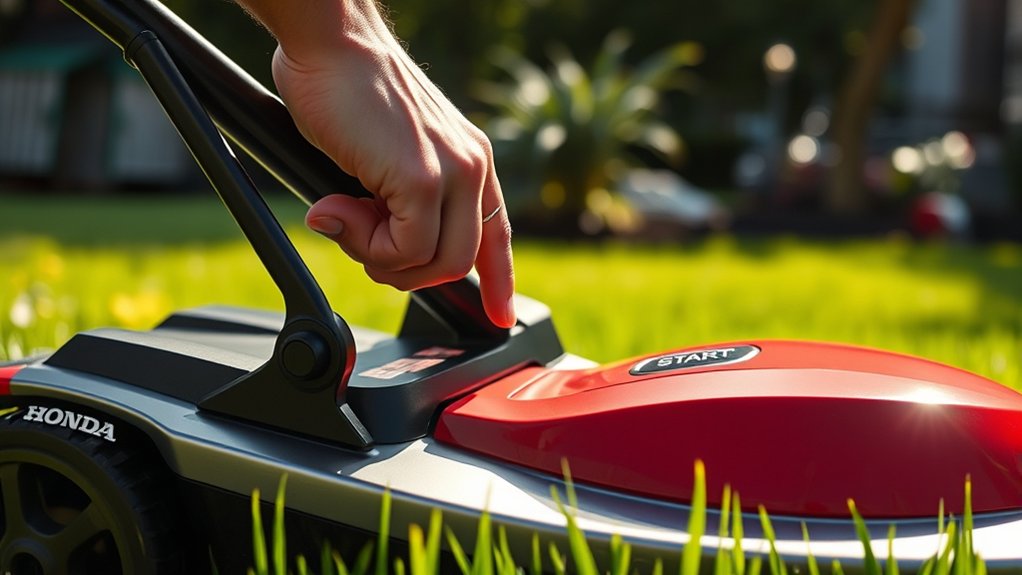
Wondering how to get your electric Honda mower running quickly and safely? First, ensure the battery is fully charged, preferably via the solar charging system if available. Check that the electric grass collection bag is securely attached and empty to avoid any operation issues.
Position the mower on a flat surface and engage the safety lever by pressing it firmly. Next, press the start button or turn the key, depending on your model, while maintaining the safety lever engaged. The mower’s motor will activate, allowing you to begin mowing immediately.
Always monitor battery levels during use to prevent sudden stops. Regularly inspect connectors and solar charging panels for debris to maintain optimal performance and longevity of your electric Honda mower.
What to Do If Your Honda Mower Won’t Start?
If your Honda mower won’t start, first check for common issues like a clogged air filter, stale fuel, or a dead battery. Follow quick troubleshooting steps such as inspecting the spark plug, verifying the fuel valve is open, and ensuring the safety switches are engaged.
Addressing these points methodically will help you identify and fix the problem efficiently.
Common Starting Issues
How can you quickly identify the cause when your Honda lawn mower won’t start? First, avoid diving into unrelated topics or assumptions; focus on direct diagnostics to maintain audience engagement and resolve issues efficiently.
Here are common starting issues to check:
- Fuel Problems Inspect for stale or contaminated fuel; replace it if needed.
- Spark Plug Issues Check the spark plug for wear or fouling; clean or replace it.
- Air Filter Blockage Ensure the air filter is clean to allow proper air flow.
- Battery or Ignition Faults Verify the battery charge and ignition switch operation.
Quick Troubleshooting Steps
Where should you begin when your Honda lawn mower refuses to start? First, check the fuel system; old or contaminated fuel can hinder ignition, much like airflow issues in a wind tunnel affect efficiency. Drain stale fuel and replace it with fresh gasoline.
Next, inspect the spark plug for fouling or damage, and replace it if necessary. Examine the air filter; a clogged filter restricts airflow, similar to dust in textile manufacturing processes reducing machine performance. Clean or replace the filter to ensure proper air intake.
Also, verify the oil level and condition. Confirm the safety switches are engaged, as these prevent startup if not properly activated. Following these steps systematically helps isolate and resolve common starting problems quickly and effectively.
Warm Up Your Honda Mower Properly After Starting
After starting your Honda mower, you need to warm it up properly to ensure ideal performance and engine longevity. Let the engine run at low throttle for about 3 to 5 minutes before engaging the blades.
This helps stabilize the oil flow and prevents mechanical stress during operation.
Importance Of Warm-Up
Although your Honda lawn mower may start quickly, you shouldn’t begin mowing immediately. Proper warm-up is essential for peak engine performance and longevity. Ignoring this step can lead to increased wear, inefficient fuel combustion, and potential engine damage.
While marketing phrasing often downplays these technical necessities, addressing non-technical concerns like smoother operation and reduced emissions highlights warm-up’s real value.
Follow these steps to understand why warm-up matters:
- Ensures oil circulates fully, lubricating engine components.
- Stabilizes engine temperature for consistent power output.
- Prevents strain on the transmission and cutting blades.
- Reduces exhaust emissions by enabling complete fuel combustion.
Ideal Warm-Up Duration
How long should you warm up your Honda lawn mower to ensure best performance? Generally, a 3-5 minute warm-up is ideal. This duration allows the engine oil to circulate fully and reach optimal operating temperature, preventing premature wear.
Avoid the unrelated topic of warming it longer than necessary, as this wastes fuel and time without added benefits.
| Engine Temperature | Recommended Warm-Up Time | Notes |
|---|---|---|
| Cold Start | 3-5 minutes | Essential for lubrication |
| Mild Temperature | 1-2 minutes | Faster warm-up possible |
| Warm Engine | 30 seconds | Minimal warm-up needed |
Don’t confuse this with any random idea like warming up by revving the engine aggressively. That’s counterproductive and can damage your mower.
Tips For Smooth Start
Properly warming up your Honda mower after starting guarantees the engine runs smoothly and extends its lifespan. Avoid distractions by not exploring any unrelated topic or random idea during this critical phase.
Follow these steps for a smooth start:
- Let the engine idle for 3-5 minutes to circulate oil and stabilize internal components.
- Gradually increase the throttle to moderate speed without revving aggressively.
- Check for unusual noises or vibrations; address issues before mowing.
- Engage the blades only after the engine reaches optimal operating temperature.
Adjust Honda Mower Settings for Smooth Engine Performance
Why does adjusting your Honda mower’s settings matter for engine performance? Proper adjustment ensures optimal fuel-air mixture, ignition timing, and throttle response, which directly affect smooth engine operation.
Start by setting the choke to the correct position based on engine temperature: full choke for cold starts, partial or open choke as the engine warms. Next, adjust the throttle lever to maintain a steady idle speed, avoiding stalls or over-revving.
Check the carburetor settings to prevent lean or rich fuel mixtures; incorrect settings can cause rough idling or power loss. Avoid confusing these adjustments with unrelated topics like unrelated topic or irrelevant concept, such as blade sharpening or tire pressure.
Focus solely on engine settings to achieve reliable, smooth performance without introducing external variables.
Basic Maintenance Tips After Starting Your Honda Mower
After starting your Honda mower, regularly check the oil levels to ensure proper lubrication and prevent engine damage. Inspect and clean the air filter to maintain optimal airflow and engine efficiency.
These maintenance steps help extend the mower’s lifespan and improve performance.
Check Oil Levels
How often should you check the oil levels in your Honda lawn mower to guarantee optimal performance? Regularly monitoring oil levels is crucial, especially before each use, to prevent engine damage and ensure smooth operation.
Follow these steps to check and maintain proper oil levels:
- Park the mower on a flat surface and turn off the engine.
- Remove the dipstick, wipe it clean, then reinsert fully and withdraw to check the oil level.
- Add the recommended oil type if the level is below the “Full” mark.
- Schedule oil changes every 25 hours of operation or at least once per mowing season.
Consistent oil checks complement routine blade sharpening and contribute to the mower’s longevity and efficiency.
Clean Air Filter
When should you clean the air filter on your Honda lawn mower to maintain peak engine performance? You should inspect and clean the air filter every 25 hours of operation or at least once per mowing season. Neglecting this can reduce airflow, causing poor engine efficiency and increased emissions. Avoid getting distracted by unrelated topics or irrelevant discussion that do not pertain to maintenance schedules.
| Condition | Action |
|---|---|
| Filter lightly dirty | Tap to remove debris |
| Filter heavily soiled | Wash with mild detergent |
| Filter damaged | Replace immediately |
To clean, remove the filter, inspect it, and follow the table’s guidance. Ensuring a clean air filter prevents dirt from entering the carburetor, safeguarding your mower’s engine longevity and performance.
Troubleshoot Common Honda Mower Starting Problems
Why won’t your Honda lawn mower start even after following the proper steps? Troubleshooting common starting problems requires a systematic approach. Begin with an engine diagnosis to pinpoint issues accurately.
Check the spark plug for fouling or wear, as this often prevents ignition. Next, inspect the fuel system for clogs or stale fuel, which can choke the engine.
Battery replacement is essential if your mower uses an electric start and the battery shows low voltage or corrosion. Finally, verify that the safety switches are engaged properly, as these can interrupt the starting circuit.
- Perform engine diagnosis focusing on spark plug and fuel flow.
- Replace fuel with fresh gasoline.
- Conduct battery replacement if voltage is insufficient.
- Confirm safety switch positions before attempting to start.
Frequently Asked Questions
How Often Should I Replace the Spark Plug in My Honda Mower?
You should perform spark plug replacement every 25 hours of use or annually, whichever comes first. Always use the recommended fuel type to guarantee optimal engine performance and prevent premature spark plug fouling or damage.
Can I Use Regular Gasoline or Do I Need a Special Type?
You can use regular unleaded gasoline with up to 10% ethanol in your Honda mower. For regular maintenance and safe transport, avoid stale fuel, and always store gas in approved containers to assure optimal engine performance and safety.
What Is the Ideal Storage Method for My Honda Lawn Mower?
You should store your Honda lawn mower in a dry, sheltered area to prevent rust. Follow maintenance tips like draining fuel, cleaning the deck, and checking oil.
These storage ideas ensure longevity and optimal performance.
Are There Any Recommended Accessories for My Honda Mower?
Like sharpening a blade’s edge, accessory upgrades such as mulching kits and replacement blades enhance performance.
You’ll boost efficiency and ease maintenance routines by adding a grass catcher or a fuel stabilizer for smoother operation.
How Do I Safely Transport My Honda Lawn Mower?
You’ll secure your Honda mower on a flatbed using straps to prevent movement, drain fuel for car maintenance safety, and ensure the deck is clean for efficient lawn care.
Transport carefully to avoid damage or spills.
Conclusion
Now that you’ve mastered the essential steps to start your Honda lawn mower, the real challenge begins—keeping it running smoothly season after season.
With precise fuel checks, correct throttle settings, and gentle warm-ups, you’re set for reliable performance. But remember, even the best preparation can’t predict every hiccup.
Stay vigilant, follow maintenance tips, and troubleshoot promptly. Your mower’s true potential depends on the care you give it—are you ready to take control of your Honda lawn mower?