To open the engine oil cap, first locate the round cap marked with an oil symbol atop the engine block. Confirm the engine is completely cool before proceeding to ensure safety.
Use a clean rag or gloves for a better grip, and unscrew the cap carefully without forcing it. This helps avoid damaging the threads or gasket.
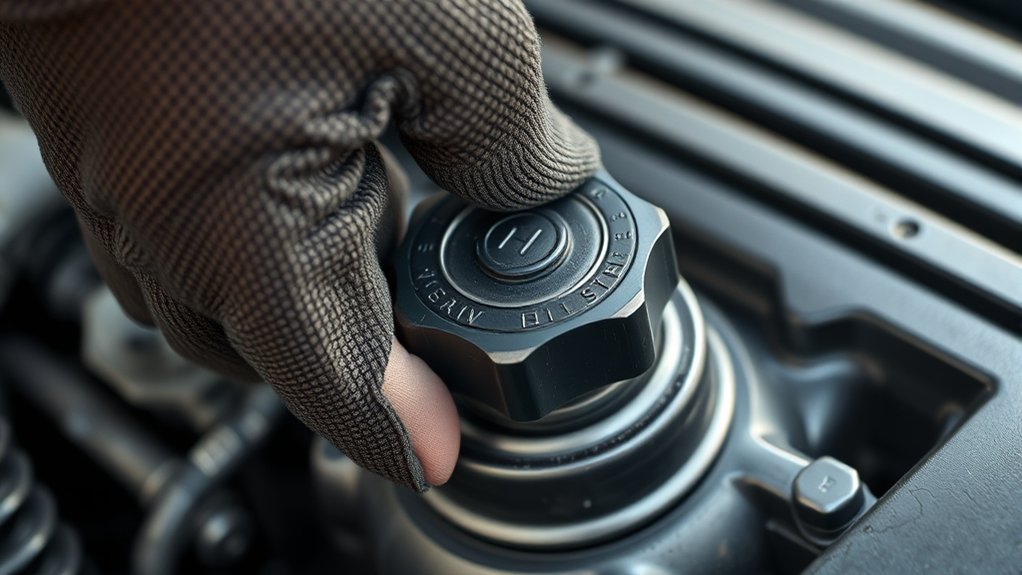
If the cap is stuck, apply penetrating oil and use steady pressure. Avoid using tools that might deform the cap.
Proper handling guarantees safety and engine integrity; further details cover maintenance and troubleshooting.
Key Takeaways
- Ensure the engine is cool, waiting at least 30 minutes after shutdown before opening the oil cap.
- Locate the oil cap on the engine block, identified by an oil can symbol or the word “Oil.”
- Clean dirt around the oil cap using a rag before opening to prevent contaminants entering the engine.
- Use a rag or glove for grip and turn the cap counterclockwise to unscrew it gently.
- If the cap is stuck, avoid forcing it; apply penetrating oil and use steady pressure or seek professional help.
How to Locate the Engine Oil Cap in Your Car
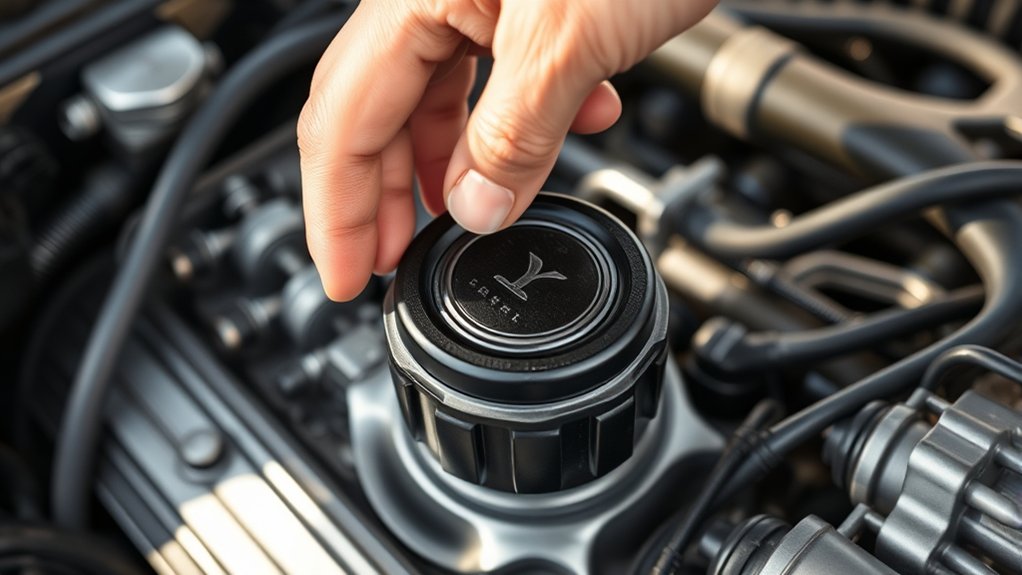
To locate the engine oil cap in your car, start by opening the hood and securing it properly. The oil cap’s position varies depending on the engine design, but it’s typically found atop the engine block.
Look for a round, screw-on cap marked with an oil can symbol or the word “Oil.” Oil cap types differ by vehicle; common versions include plastic twist-on caps or metal caps with integrated seals.
Locate the round, screw-on oil cap marked with an oil can symbol or the word Oil.
Some engines have caps positioned centrally, while others place them off to one side due to space constraints or specific design layouts. If you’re unsure, consult the owner’s manual for exact positioning.
Identifying the correct oil cap is essential before proceeding to open it safely and add or check engine oil.
How to Prepare Tools and Safety Gear Before Opening the Engine Oil Cap
Once you’ve identified the engine oil cap, gather the necessary tools and safety gear before opening it. For oil cap maintenance, prepare a clean rag or paper towels to wipe any dirt or debris around the cap.
Have gloves ready to protect your hands from oil and potential contaminants. Safety goggles are essential to prevent splashes from entering your eyes during the process. Make sure you have a container or absorbent mat nearby to catch any accidental spills.
Avoid using tools that could damage the cap or surrounding components; typically, no tools are needed as the cap is designed for hand removal. Prioritize safe handling by working in a well-ventilated area and keeping the engine cool to reduce risks before proceeding to open the cap.
How to Open the Engine Oil Cap Safely
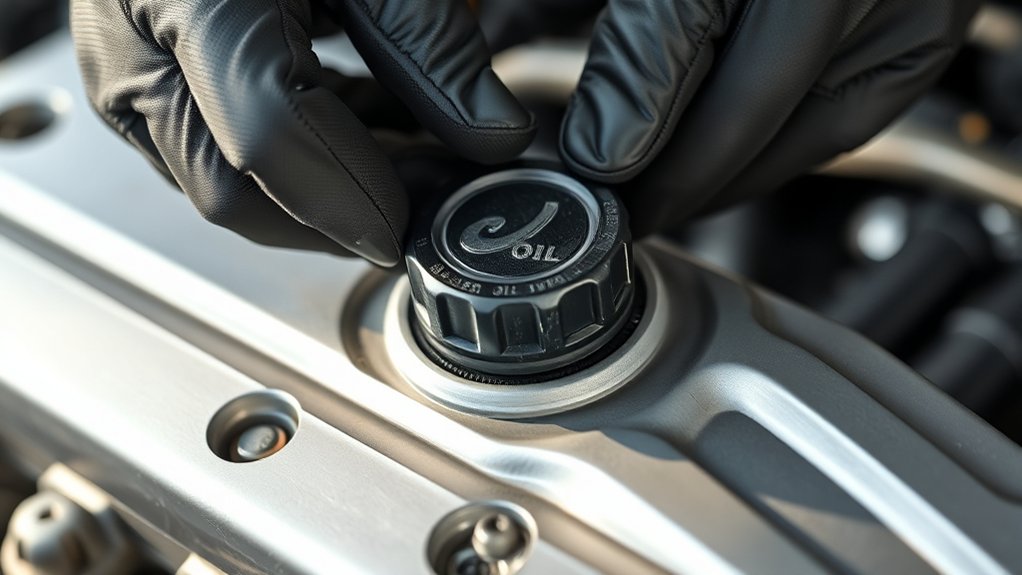
Before you open the engine oil cap, make certain the engine is completely cool to avoid burns from hot oil or steam. Use the correct tools, such as a clean rag or glove, to improve grip and prevent slipping.
Taking these precautions guarantees a safe and controlled removal of the oil cap.
Ensure Engine Is Cool
Although you might be keen to check or change your engine oil, you must guarantee the engine has cooled completely before opening the oil cap. Prioritizing engine safety means respecting the necessary cooling period to avoid burns or pressure-related hazards.
Hot engine components and oil can cause severe injuries if disturbed prematurely.
Follow these steps to ascertain proper cooling:
- Turn off the engine and wait at least 30 minutes to allow heat dissipation.
- Avoid opening the oil cap if you see steam or hear hissing sounds, indicating residual pressure.
- Use a temperature gauge or touch the engine block carefully to confirm it’s cool enough.
Adhering to these precautions ensures safe access to the oil cap and prevents damage or injury.
Use Proper Tools
A proper tool is essential to open the engine oil cap safely and efficiently. Different oil cap types require specific tools. For example, some caps have a built-in grip for hand removal, while others need a strap wrench or a specialized oil cap remover.
Using the correct tool prevents damage to the cap and seal. When loosening the cap, apply steady force without exceeding the proper torque to avoid stripping threads or causing leaks. If the cap feels stuck, avoid using excessive force; instead, try a tool designed for extra grip.
Always inspect the cap and its seal for wear or deformation before reinstalling. Using the right tool and applying proper torque guarantees a secure fit and prevents oil contamination or spillage.
Avoid These Common Mistakes When Opening Your Engine Oil Cap
When opening your engine oil cap, you shouldn’t force it if it feels stuck, as this can damage the cap or the sealing threads. Avoid common misconceptions such as using excessive force or inappropriate tools, which can harm oil cap materials like plastic or metal. Instead, follow these key points:
- Don’t use pliers or wrenches, as they can deform or crack the cap.
- Avoid opening the cap immediately after engine operation to prevent burns from hot oil vapors.
- Never ignore the cap’s condition; cracked or brittle oil cap materials require replacement to maintain a proper seal.
What to Do If the Engine Oil Cap Is Stuck or Hard to Open
If you find the engine oil cap stuck despite following proper handling guidelines, it’s important to address the issue carefully to prevent damage. Start by applying penetrating oil around the cap’s threads to aid in dealing with corrosion. Let it sit for several minutes to loosen rust buildup.
Use appropriate oil cap removal techniques, such as applying steady, even pressure with a rubber grip or strap wrench to enhance grip without slipping. Avoid using excessive force, which may damage the cap or surrounding components.
If the cap remains stuck, gently tap around its edge with a plastic or rubber mallet to break corrosion bonds. Reapply penetrating oil as needed. Persisting resistance may require professional assistance to avoid stripping threads or damaging the engine.
How to Check and Top Off Engine Oil After Opening the Cap
After opening the engine oil cap, locate the dipstick to check your oil level accurately. Pull out the dipstick, wipe it clean, reinsert it fully, then remove it again to read the oil mark.
If the level is low, add the recommended engine oil gradually, checking frequently to avoid overfilling.
Locating The Dipstick
The dipstick serves as your primary tool for measuring engine oil levels accurately. To locate it, open your vehicle’s hood and scan the engine bay for a thin metal rod with a brightly colored handle, usually yellow or orange.
Knowing the dipstick location is essential for efficient dipstick maintenance and oil checks.
Follow these steps:
- Identify the dipstick handle near the engine block, often labeled or marked.
- Make sure the dipstick is clean before reinserting it for an accurate reading.
- Use a rag to wipe the dipstick after removal and before reinsertion to prevent oil contamination.
Proper dipstick maintenance guarantees reliable oil level readings and helps maintain engine health.
Checking Oil Level
With the dipstick confirming your engine oil level, you’re ready to open the oil cap to inspect or add oil. First, remove the cap carefully and check the oil for clarity and color. Fresh oil is typically amber and transparent; dark or gritty oil indicates contamination or degradation, signaling poor oil quality.
Smell the oil to detect any burnt odor, which suggests engine issues or oil breakdown. When inspecting, remember different oil types, synthetic, conventional, and blends, each affects engine performance and longevity differently.
Using the correct oil type, as specified in your vehicle’s manual, guarantees ideal lubrication and protection. After inspection, securely replace the oil cap to prevent leaks or contamination. This step is essential before moving on to topping off or changing the oil.
Adding Engine Oil
Begin by selecting the correct type and grade of engine oil as specified in your vehicle’s manual. Choosing the right oil viscosity guarantees peak engine performance and protection. To add engine oil properly, follow these steps:
- Slowly pour oil into the engine oil filler hole, avoiding overfilling.
- Pause periodically to check the oil level using the dipstick.
- Replace the oil cap securely once the oil level reaches the recommended mark.
Always adhere to your vehicle’s maintenance schedule for oil changes and top-offs to maintain engine health. Using the specified oil viscosity prevents wear and engine damage. Properly topping off engine oil after opening the cap is essential for consistent lubrication and efficient operation.
How to Keep Your Engine Oil Cap Clean and Secure
Engine oil caps play an essential role in maintaining engine integrity by preventing contaminants from entering the oil system. To guarantee effective oil cap maintenance, regularly inspect the cap for cracks, wear, or damage to the sealing gasket.
During cap cleaning, use a lint-free cloth to remove dirt and oil residue from both the cap and the surrounding filler neck. Avoid harsh chemicals that can degrade the rubber gasket.
After cleaning, securely tighten the cap to the manufacturer’s specified torque to prevent leaks and contamination. If the cap shows signs of damage or the gasket is compromised, replace it promptly.
Consistent oil cap maintenance and cap cleaning help maintain peak engine performance and prevent costly repairs caused by oil contamination or leaks.
Frequently Asked Questions
How Often Should I Change My Engine Oil?
You should follow your vehicle’s manual for oil change frequency, typically every 3,000 to 7,500 miles.
Regular oil changes are essential engine maintenance tips to guarantee peak performance and prevent wear or damage over time.
What Type of Engine Oil Is Best for My Car?
You know what they say: “Don’t put square pegs in round holes.” Use synthetic oil for high performance and longevity, while conventional oil suits older engines.
Always check your car’s manual for the best fit.
Can I Drive Immediately After Adding Engine Oil?
Yes, you can drive immediately after adding engine oil. Proper oil change timing guarantees ideal engine oil maintenance, preventing damage.
Just check the level is correct before driving to maintain engine performance and avoid potential issues.
What Are the Signs of Low Engine Oil?
You might see an oil pressure warning light before your engine performance suffers noticeably. Low oil causes friction, overheating, and wear.
Watch for warning lights and follow maintenance tips to prevent costly damage and keep your engine healthy.
How Do I Dispose of Used Engine Oil Safely?
You should collect used engine oil in a sealed container and take it to an authorized oil recycling center.
Never pour it down drains or on the ground; proper oil disposal prevents environmental contamination and complies with regulations.
Conclusion
Now that you know how to locate and safely open your engine oil cap, you’re better equipped to maintain your vehicle. Did you know that 70% of engine failures result from poor oil maintenance? Regularly checking and topping off your oil can prevent costly repairs.
Always keep the cap clean and secure to avoid contamination. Following these steps guarantees your engine runs smoothly and efficiently, extending its lifespan and saving you money. Remember, knowing how to open the engine oil cap is essential for proper vehicle care.