You’ve added too much engine oil if the level surpasses the maximum mark on your dipstick. Overfilling causes the crankshaft to aerate the oil, forming foam that reduces viscosity and lubrication efficiency.
This leads to increased friction, overheating, leaks from excessive crankcase pressure, and potential damage to components like the catalytic converter.
Always check oil levels carefully after adding small amounts. Understanding these effects will help you maintain peak engine performance and prevent costly damage.
Key Takeaways
- Overfilling engine oil causes foaming, reducing lubrication and risking engine damage.
- Exceeding manufacturer-recommended oil volume disrupts oil pressure and engine performance.
- Oil levels should be checked with a dipstick on a level surface after engine cool-down.
- Signs of too much oil include blue exhaust smoke, unusual noises, and oil leaks.
- Excess oil can damage seals and catalytic converters, requiring prompt draining to safe levels.
Why Overfilling Engine Oil Harms Your Car
Although engine oil is essential for lubrication, overfilling it can cause significant damage to your car. When you add too much oil, the excess causes the crankshaft to churn through it, aerating the oil and creating foam.
Overfilling engine oil causes foam, reducing lubrication and risking serious engine damage.
This foam alters the oil viscosity, reducing its ability to lubricate engine components effectively. As a result, engine performance diminishes due to increased friction and wear.
Overfilled oil can also lead to elevated pressure inside the crankcase, causing oil leaks or seal damage. Additionally, the improper oil level can disrupt oil flow through the engine’s passages, hindering cooling and lubrication.
To maintain peak engine performance and protect your vehicle, it’s vital to monitor and maintain the correct oil level, avoiding overfilling at all costs.
Safe Engine Oil Amounts for Various Vehicles
Understanding the correct engine oil quantity for your vehicle prevents the issues caused by overfilling and guarantees peak engine function. For sedans, engine oil volume typically aligns with sedan specifications, ranging from 4 to 6 quarts, depending on engine size and design.
Always consult the manufacturer’s guidelines to match these exact requirements. Trucks, due to larger engines and heavier-duty operation, have different truck requirements, often needing between 6 to 10 quarts of oil. You must measure oil levels accurately to stay within these limits, using the dipstick after the engine has cooled.
Exceeding recommended quantities can disrupt oil pressure and lubrication balance. Adhering precisely to the recommended oil amounts guarantees prime viscosity, cooling, and engine longevity across vehicle types.
Effects of Overfilling Engine Oil
When you add too much engine oil, it can cause serious mechanical problems by increasing crankcase pressure and causing the oil to foam. Excess oil causes the crankshaft to churn the oil, aerating it and reducing its lubricating properties.
This foamed oil compromises oil viscosity, impairing its ability to create a stable lubricating film between moving parts. As a result, engine performance declines due to increased friction and overheating. Additionally, elevated crankcase pressure can force oil past seals and gaskets, leading to leaks and potential engine damage.
Overfilled oil also strains the catalytic converter and oxygen sensors, disrupting emission controls. To maintain peak engine performance and prevent mechanical failures, you need to verify oil levels stay within the manufacturer’s recommended range, preserving proper oil viscosity and pressure balance.
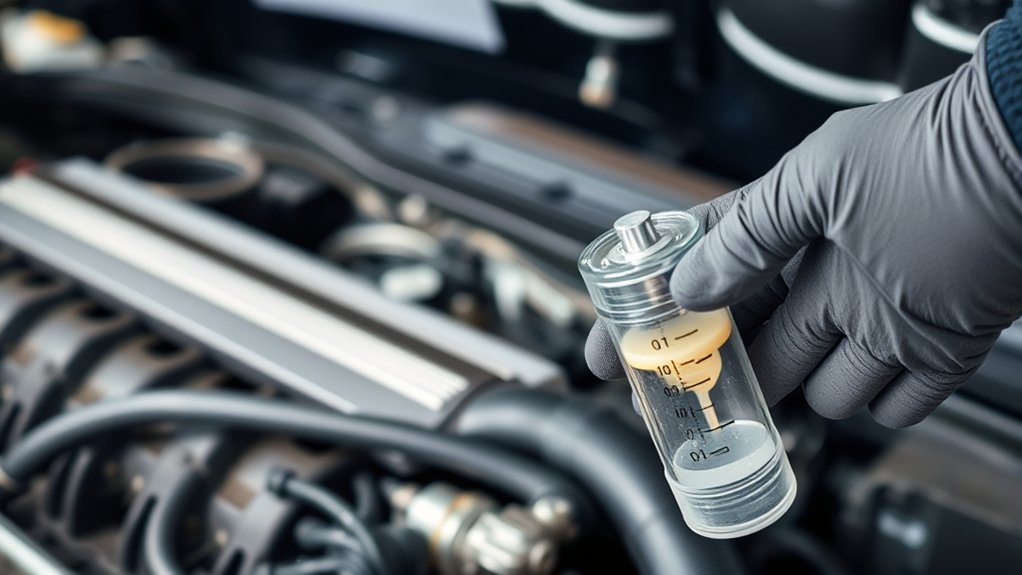
How to Check Engine Oil Level Accurately
To check your engine oil level accurately, first guarantee the vehicle is on a level surface and the engine is cool or has been off for several minutes.
Locate the dipstick, usually marked with a bright handle, and pull it out fully before wiping it clean. Reinsert the dipstick completely, then remove it again to read the oil level between the minimum and maximum marks.
Prepare Your Vehicle
Before checking your engine oil level, make certain your vehicle is parked on a flat, level surface and the engine is turned off and cool. This guarantees an accurate oil level measurement, as oil settles evenly and temperature fluctuations won’t affect the reading.
Engage the parking brake to prevent any movement during the process. For best results, wait at least 10 minutes after shutting off the engine to allow oil to drain back into the oil pan.
Regularly performing this step is essential for proper vehicle maintenance and helps identify if an oil change is necessary. Skipping these preparations can lead to false readings, risking overfilling or insufficient oil, which compromises engine performance and longevity.
Always consult your owner’s manual for specific guidelines.
Locate The Dipstick
You’ll typically find one or two dipsticks under the hood, each clearly marked for easy identification. The dipstick location varies by vehicle model but is generally positioned near the engine block, often with a brightly colored handle, yellow or orange, to stand out.
Before starting the checking procedure, verify the engine is off and cooled down to avoid inaccurate readings and potential burns. Open the hood and visually scan near the engine for the dipstick handle, referring to your owner’s manual if necessary for exact placement.
Grasp the handle firmly to pull it out smoothly without bending. Properly locating the dipstick is essential for an accurate oil level check, as misidentification can lead to incorrect assessments or damage during the checking procedure.
Read Oil Level
Although locating the dipstick is essential, accurately reading the oil level requires a specific procedure to guarantee precision. You must consider oil viscosity and employ proper measurement techniques for a reliable reading. Follow these steps:
- Warm up the engine, then turn it off and wait five minutes to allow oil to settle.
- Remove the dipstick, wipe it clean with a lint-free cloth to avoid contamination.
- Reinsert the dipstick fully, then withdraw it again to observe the oil level between the minimum and maximum marks.
- Assess oil viscosity by noting its thickness on the dipstick; excessively thick or thin oil may indicate issues.
Strict adherence to these steps assures accurate oil level readings and ideal engine performance.
Signs of Too Much Engine Oil
When engine oil exceeds the recommended level, it can cause several distinct symptoms that signal overfilling. You might notice oil foaming or bubbling on the dipstick, indicating air mixing with oil due to excessive oil level. This aeration reduces lubrication efficiency, increasing friction and risk of engine damage.
Additionally, your engine may produce unusual noises like knocking or ticking, caused by increased crankshaft resistance in the overfilled crankcase. You could also observe blue smoke from the exhaust, signaling oil burning in the combustion chamber.
In severe cases, oil leaks may develop as excess pressure forces seals and gaskets to fail. Monitoring these signs is essential because ignoring a high oil level can lead to costly engine damage and compromised performance.
How to Fix Engine Oil Overfill
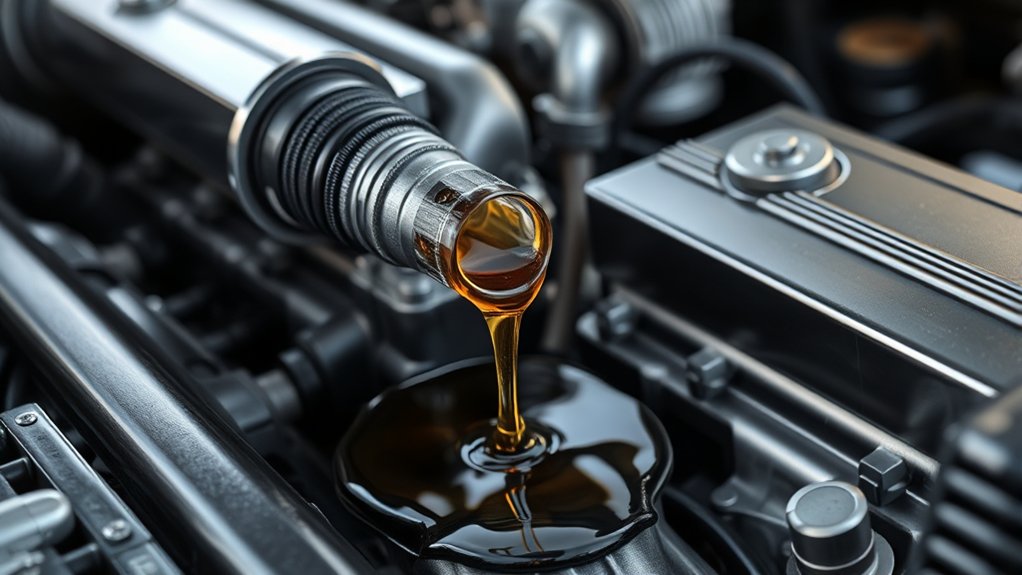
Noticing signs of engine oil overfill means it’s time to address the issue promptly to prevent damage. To fix this, start by safely draining the excess oil to the recommended level using a suitable tool like a siphon pump.
Recognizing engine oil overfill signs calls for prompt draining to the correct level using safe tools.
Proper oil disposal is essential. Collect the drained oil in a sealed container and take it to a certified recycling center. Next, check the oil dipstick to confirm the correct level.
You should also inspect the engine for any leaks or damage caused by overfill. Finally, perform routine engine maintenance, including an oil and filter change if necessary, to guarantee peak performance and prevent long-term issues.
Following these steps safeguards your engine’s health and promotes responsible oil disposal.
- Drain excess oil carefully
- Collect and dispose of oil properly
- Verify oil level with dipstick
- Inspect engine and maintain routinely
Tips to Avoid Overfilling During Oil Changes
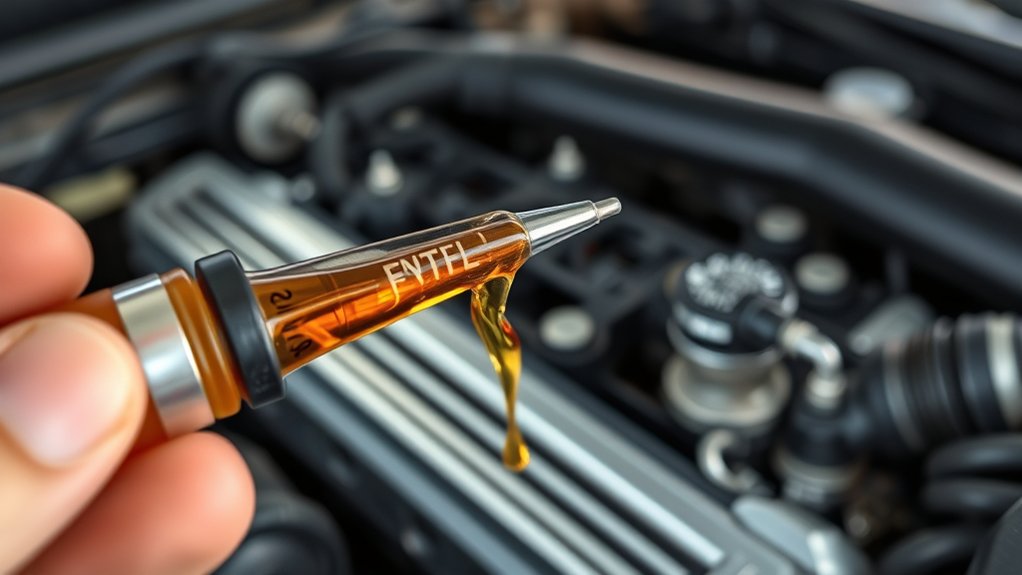
To prevent engine oil overfill during changes, you must measure and add oil with exactness. Employ precise measurement techniques by using a clean, calibrated dipstick after each addition. Avoid guessing oil quantity; instead, consult your vehicle’s manual for the exact oil capacity. Pour slowly, and recheck levels frequently to maintain accuracy.
| Step | Recommendation |
|---|---|
| Pre-oil change | Warm engine, park level |
| Adding oil | Add small amounts gradually |
| Checking level | Use dipstick after 2 mins |
| Final verification | Confirm level within marks |
When to Consult a Mechanic About Engine Oil Levels
Even with careful measurement and proper technique during oil changes, you might encounter situations where engine oil levels are abnormal or cause concern. You should consult a mechanic if you experience any irregularities despite adhering to recommended oil change frequency.
Key indicators include:
- Persistent oil level fluctuations between checks
- Engine warning lights related to oil pressure or lubrication
- Unusual engine noises or performance drops
- Oil contamination (milky appearance or debris)
A professional mechanic will perform thorough engine diagnostics to identify leaks, faulty sensors, or other mechanical issues affecting oil levels. Early intervention prevents severe engine damage and guarantees ideal lubrication.
Always prioritize expert assessment when standard maintenance doesn’t resolve oil level anomalies.
Frequently Asked Questions
Can Adding Oil Improve Engine Performance?
You can improve engine performance by using the correct oil viscosity, ensuring ideal engine lubrication. However, simply adding more oil won’t help; overfilling disrupts pressure and efficiency.
Precise oil levels matter more than quantity.
Does Engine Oil Type Affect Overfill Risks?
Like a knight choosing armor, you must pick the right oil viscosity to prevent overfill consequences. Using incorrect types can cause foaming, increased pressure, and leaks, so always match oil specs to your engine’s needs precisely.
How Often Should Engine Oil Be Changed?
You should follow your vehicle’s maintenance schedule for oil change frequency, typically every 5,000 to 7,500 miles.
Regularly check your owner’s manual to confirm precise intervals, preventing engine wear and maintaining peak performance.
Can Overfilled Oil Cause Emissions Problems?
Like Icarus flying too close to the sun, overfilled oil disrupts your emission control system, causing increased emissions.
Excess oil can lead to engine damage and oil leaks, so always maintain the correct oil level for peak performance.
Is Synthetic Oil More Forgiving if Overfilled?
Synthetic oil’s consistent oil viscosity helps reduce foaming if overfilled, but you shouldn’t rely on it. Overfilling still risks engine longevity by causing increased crankcase pressure and seal damage, so always measure carefully.
Conclusion
Overfilling your engine oil is like pouring too much water into a glass—it spills over and causes damage. You need to keep oil levels within the manufacturer’s recommended range to maintain peak engine performance and avoid issues like foaming or increased pressure.
Always check levels carefully with the dipstick after filling, and if you notice signs of overfill, drain the excess promptly. When in doubt, don’t hesitate to consult a mechanic for precise adjustments.
Knowing how much engine oil is too much is crucial to protecting your engine. Keeping the right amount ensures your vehicle runs smoothly and avoids costly repairs.