To fix an engine oil leak, start by locating the exact source through a clean engine inspection.
Check common leak points like gaskets and seals to identify where the oil is escaping.
Tighten any loose bolts and replace worn or damaged gaskets, seals, and O-rings.
Use proper tools like torque wrenches and sealants to guarantee a secure fit.
Temporary additives can help reduce leaks but aren’t a permanent fix.
Proper diagnosis and repair protect engine performance—explore further to master effective leak prevention and repair strategies.
Key Takeaways
- Identify the leak source by cleaning the engine, inspecting seals, gaskets, and bolts, and following visible oil trails.
- Tighten loose bolts and screws on engine components to stop minor leaks.
- Replace worn or damaged gaskets, seals, and O-rings causing oil leaks.
- Use oil stop leak additives as a temporary fix while planning permanent repairs.
- Employ tools like UV dye kits, torque wrenches, and sealants for accurate diagnosis and effective sealing.
How to Identify Engine Oil Leaks Early
How can you spot an engine oil leak before it causes serious damage? Start by monitoring common oil leak symptoms such as dark stains beneath your vehicle, a burning oil smell, or a sudden drop in oil levels on the dipstick.
Early detection hinges on regular visual inspections of the engine bay and undercarriage, especially around gaskets and seals. Check for wet, greasy spots or accumulation of dirt mixed with oil, which often indicate an active leak.
Additionally, pay attention to dashboard warning lights related to oil pressure. Addressing these signs promptly helps prevent engine wear and costly repairs. By incorporating routine checks into your maintenance schedule, you’ll catch oil leaks early and maintain your engine’s performance and longevity effectively.
What Causes Engine Oil Leaks?
Since engine oil lubricates critical components, any compromise in the sealing surfaces or oil pathways can lead to leaks. You’ll often find gasket wear as a primary cause; over time, gaskets lose elasticity, crack, or become brittle, failing to maintain a tight seal.
Additionally, incorrect oil viscosity can contribute. Using oil that’s too thin or too thick affects pressure and flow, increasing leak risk. Worn or damaged seals, loose bolts, and degraded O-rings also create vulnerable points.
Thermal cycling causes metal parts to expand and contract, which can exacerbate these issues by loosening seals or warping surfaces. By understanding these causes, you can better anticipate where leaks might develop and take targeted steps to prevent oil loss and maintain engine integrity.
Finding the Exact Source of Your Oil Leak
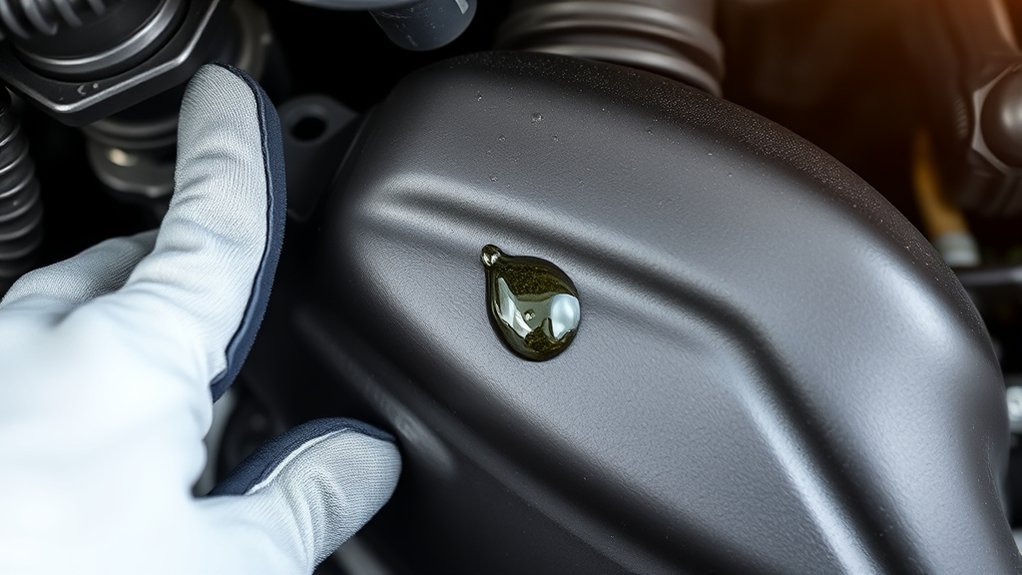
Identifying the exact source of an engine oil leak requires a systematic approach because oil can travel along engine components before becoming visible. Begin leak detection by thoroughly cleaning the engine surface to remove existing oil residues.
Once clean, start the engine and monitor oil pressure to verify it’s within the normal range, as abnormal pressure can exacerbate leaks. Use a flashlight to inspect common leak points such as valve cover gaskets, oil pan, and oil filter housing.
Follow any visible oil trails carefully, as oil can drip and pool away from the initial leak site. Take note of fresh oil spots or wet areas, and look for cracks, loose bolts, or degraded seals.
Pinpointing the exact source lets you address the root cause efficiently, preventing further damage.
Tools You’ll Need to Fix an Engine Oil Leak
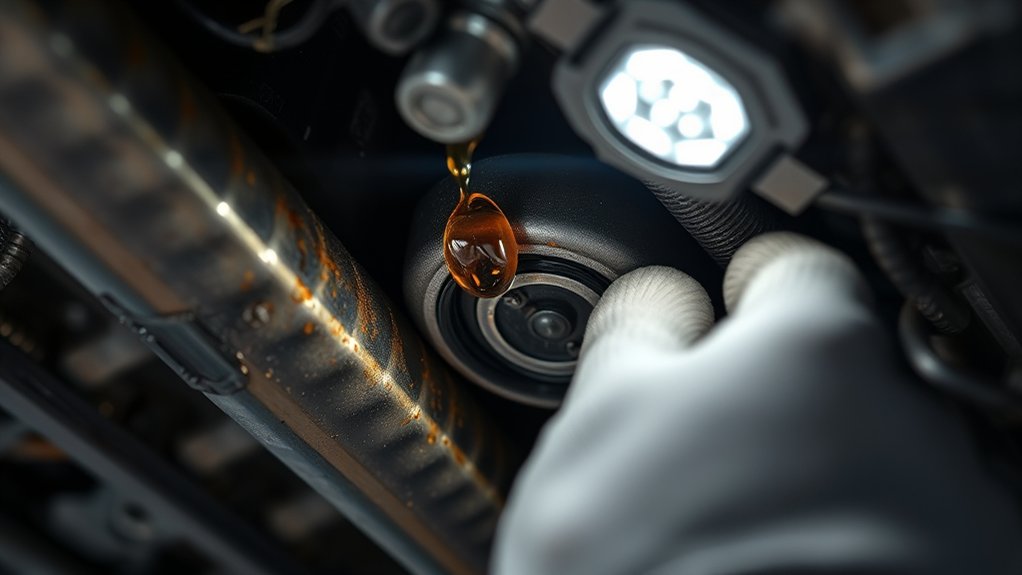
Proper tools are crucial for efficiently fixing an engine oil leak and guaranteeing a secure, lasting repair. Start with a reliable oil leak detection kit. UV dye and a blacklight help pinpoint leaks quickly.
Using proper tools like a UV dye detection kit ensures efficient and lasting engine oil leak repairs.
You’ll also need a set of wrenches and socket drivers to remove and tighten components accurately. A torque wrench guarantees bolts are properly secured without damage.
For cleaning, use degreasers and lint-free rags to prepare surfaces before sealing. Depending on the repair, choose from various sealant types: silicone gasket maker, anaerobic sealants, or oil-resistant RTV. Each is suited for specific leak points.
Finally, a drain pan to catch oil and a jack with stands for safe access are essential. Having these tools ready streamlines the repair process and prevents further leaks.
How to Seal a Minor Engine Oil Leak
You’ll first need to pinpoint the exact source of the minor oil leak by cleaning the area and observing where the oil accumulates. Once identified, apply the appropriate sealant evenly, ensuring the surface is dry and free of debris for ideal adhesion.
Proper application prevents further leaks and extends the seal’s effectiveness.
Identifying Leak Sources
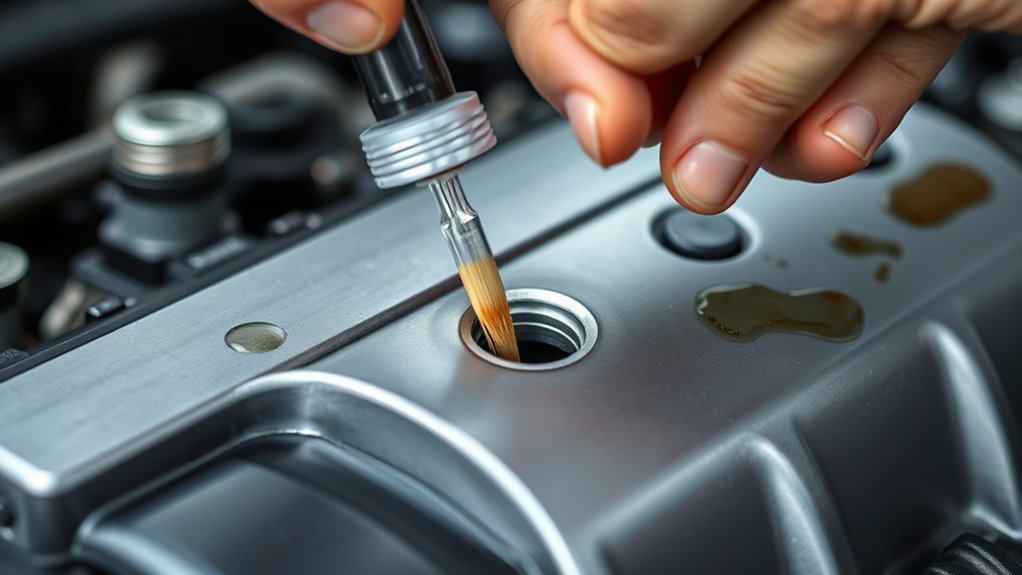
Before you can effectively seal a minor engine oil leak, you need to pinpoint its exact source with accuracy. Start by cleaning the engine thoroughly to remove old oil stains that could obscure the leak. Use a degreaser and a brush, then dry the area completely.
Next, perform leak detection by running the engine briefly while observing potential leak points such as gaskets, seals, and oil pan edges. Look for fresh oil stains forming or use UV dye and a blacklight for enhanced visibility.
Check areas around the valve cover, oil filter, and drain plug carefully. Identifying the precise location guarantees you address the problem directly, preventing wasted effort on areas that aren’t leaking and avoiding further engine damage caused by unchecked oil loss.
Applying Sealant Properly
Once you’ve identified the leak source, apply the sealant directly to the clean, dry surface to secure maximum adhesion. Selecting the right sealant type is vital. Choose between RTV silicone, anaerobic sealants, or gasket makers based on your engine’s specifications.
Use precise application techniques to avoid excess material that can cause blockages or ineffective sealing.
Follow these steps for proper application:
- Clean the area thoroughly with a degreaser and let it dry completely.
- Apply a thin, even bead of sealant along the leak point using a nozzle or brush.
- Allow the sealant to cure as per manufacturer instructions before reassembling or running the engine.
These steps guarantee a durable, leak-proof seal and prevent future oil seepage.
When Should You Replace Gaskets and Seals to Stop Engine Oil Leaks?
How do you determine the right time to replace gaskets and seals to stop engine oil leaks? Inspect gasket types—rubber, cork, or composite—and assess their condition. Cracks, hardening, or deformation signal replacement.
Check seal materials like nitrile or silicone for brittleness or swelling. If oil accumulates around these components or you notice persistent leaks despite tightening bolts, it’s time to swap them out.
Also, consider the engine’s mileage and service history; gaskets and seals degrade over time due to heat and pressure cycles. Don’t wait for severe leaks; early replacement prevents further damage.
Always use OEM or high-quality aftermarket parts matching original gasket types and seal materials for effective sealing and longevity. Accurate diagnosis and timely replacement guarantee a reliable fix for engine oil leaks.
Checking Your Repair and Preventing Future Leaks
Replacing worn gaskets and seals is just one part of stopping engine oil leaks. You’ll need to confirm that your repair holds under operating conditions.
After reassembly, start the engine and let it reach normal operating temperature. Then, carefully inspect for any signs of fresh leakage around the repaired area.
To guarantee lasting results and incorporate effective leak prevention strategies, follow these steps:
- Monitor oil levels regularly and watch for unexplained drops, applying oil maintenance tips consistently.
- Clean the engine bay to detect new leaks quickly and avoid residue buildup that masks issues.
- Conduct periodic visual inspections focusing on gasket and seal integrity during routine maintenance.
When to Call a Pro for Engine Oil Leaks
Although some oil leaks can be managed with basic tools and parts, you should call a professional if the leak persists after your repair attempts or if you notice significant oil loss, smoke, or engine performance issues. These symptoms often indicate more complex problems requiring professional assistance.
A trained mechanic will perform thorough engine diagnostics to pinpoint the exact source and severity of the leak. Attempting advanced repairs without proper equipment or expertise can worsen damage.
Additionally, if your vehicle has electronic engine management systems, professional diagnostics are essential to avoid triggering error codes or safety concerns. In short, when an oil leak impacts engine function or you can’t locate the problem after initial fixes, seek professional assistance promptly to prevent costly damage and guarantee your engine runs safely and efficiently.
Frequently Asked Questions
Can Engine Oil Leaks Affect Fuel Efficiency?
Yes, oil leaks can reduce fuel efficiency by increasing engine friction and causing improper lubrication. You should perform leak detection regularly to identify leaks early, preventing engine damage and maintaining ideal fuel consumption.
Is It Safe to Drive With a Small Oil Leak?
You shouldn’t drive long with a small oil leak. Oil leak causes vary, but even minor leaks risk engine damage.
Perform leak detection promptly to identify source, prevent worsening, and maintain safe, efficient vehicle operation.
What Type of Oil Is Best to Prevent Leaks?
You should use high-quality synthetic oils with seal additives, as they maintain viscosity under extreme temperatures and help condition seals, reducing leaks.
This combination offers superior protection compared to conventional oils, preventing premature seal wear effectively.
How Often Should Engine Oil Be Changed to Avoid Leaks?
Think of your engine as a heart; you should perform oil change frequency every 3,000 to 5,000 miles. Consistent oil changes are key leak prevention methods, maintaining seal integrity and preventing oil degradation that causes leaks.
Can Oil Leaks Cause Engine Overheating?
Yes, oil leak causes engine overheating by reducing lubrication and increasing friction.
To prevent damage, you should identify the leak source quickly and apply engine overheating solutions like sealing leaks and maintaining proper oil levels regularly.
Conclusion
By catching that subtle oil whisper early, you’re steering clear of a messy symphony under your hood. With the right tools and a sharp eye, you can seal minor leaks before they become a river.
Remember, timely gasket and seal care keeps your engine’s heartbeat steady. If the leak plays a stubborn tune, don’t hesitate to call in the pros.
Staying vigilant guarantees your engine runs smoothly, free from unwanted oil trails. Fixing an engine oil leak promptly is key to maintaining your vehicle’s performance and longevity.